Plug-in: Software Development Kit (SDK)
General introduction
The SDK supports the developer with a graphic user interface. The graphical interface leads through four steps, in which appearance, behavior and general information about the application and copyright will be gathered.
Installation
It is strongly recommended, that you install the SDK only on web servers, which are not accessible by the public. For example, on a local workstation, which is not accessible over the network. The SDK is used exclusively for the purpose of developing new applications for the Framework. To make best use of it, it is necessary that the user can work locally at the respective computers and has read and write permissions for the directories and files of the framework, which has the SDK installed. Or at least he should be in a position to have a remote connection, that allows to work with the same permissions like a local user.
Improper use could delete or overwrite existing applications of the Framework. It is therefore strongly recommended that backup copies of stored files are created regularly.
In order to install the SDK proceed as follows:
- Install and configure the YANA Framework, as described in the instructions.
- Make sure that the program has write privileges for the directories "plug-ins" and "skins/default".
- Log on as administrator, and go to the administration menu of the application
- Look for the "Software Development Kit" in the "plugins" menu and activate this plug-in. Save your changes.
- To start the SDK, select "Software Development Kit" from the application's sitemap.
If you wish an introduction on how to use the SDK, see chapter "Creating plug-ins and applications". For a practical example, see the introductory tutorial, at chapter 3 "Creating a new plug-in".
Preparation
general information
- Name of the software:
- any text
- Description:
- any text HTML is NOT allowed.
- Image:
- choose an icon from the list, which represents your application
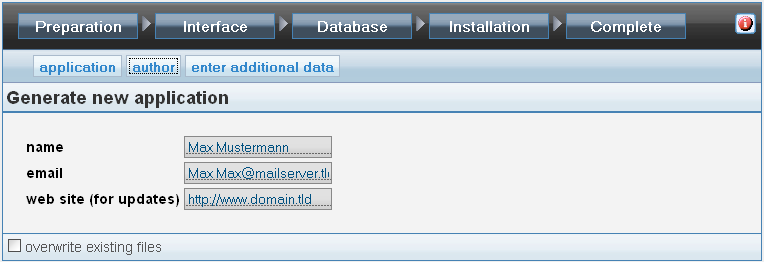
Some information on you, the author of the software:
- Author:
- Your name
- E-mail address:
- Address for questions about your software. You may leave this field blank if you want.
- Web site for updates:
- a valid URL. If you have a web site on which you provide updates for this application, please enter the address here.
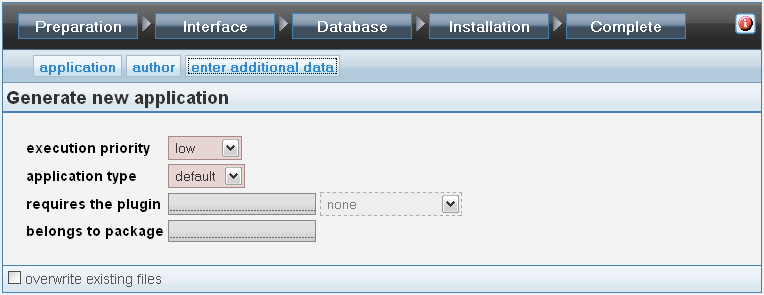
- Priority of execution:
- This value determines the order in which plug-ins are executed. Security-relevant plug-ins (password queries, etc.) should have a higher priority, thus they are executed before other plug-ins on the series. Other plug-ins (log files, etc.) should have a lower priority.
- Type of Application:
- Valid values for type of application are:
"default", "primary", "config", "read", "write", "security".
- Members of group "security" will always have a higher priority than all the other plug-ins. This group is used for plug-ins that implement user authentication.
- The group "config" receives only events of type "default", "security" oder "config". It is meant to be used for plug-ins, which provide functionality to edit configuration files and settings. Usually, these plug-ins serve as extensions to other plug-ins. So there is a dependency. This dependence can be expressed, among other things, by adding a definition, that both plug-ins are part of the same package.
- The group "write" receives events of the type "write", "security" or "default". It is designed for plug-ins, which only write to a file or a database. This group is however seldom used in practice. It is mentioned here for reasons of completeness.
- The group "read" receives events of type ?read?, ?security? or ?default?. It is meant to be used for plug-ins, which only read from a file or a database. This group is seldom used.
- The group "primary" treats all events except "config". It is designed for plug-ins, which act as main programs.
- The group "default" receives all events except those of type "security", "config" and "primary". It is intended for "other" plug-ins and as a solution for developers, who are uncertain about which group they should take for their plug-in.
- requires the plug-in:
- Id of another plug-in, which is required for your software to run. Use this field if you extend an existing application with new capabilities. The selection menu is used only as guidance. You don't necessarily need to use one of the Ids listed in this menu.
- belongs to package:
- use this field to show that two plug-ins belong together. Enter into this field a common "package", that both belong to.
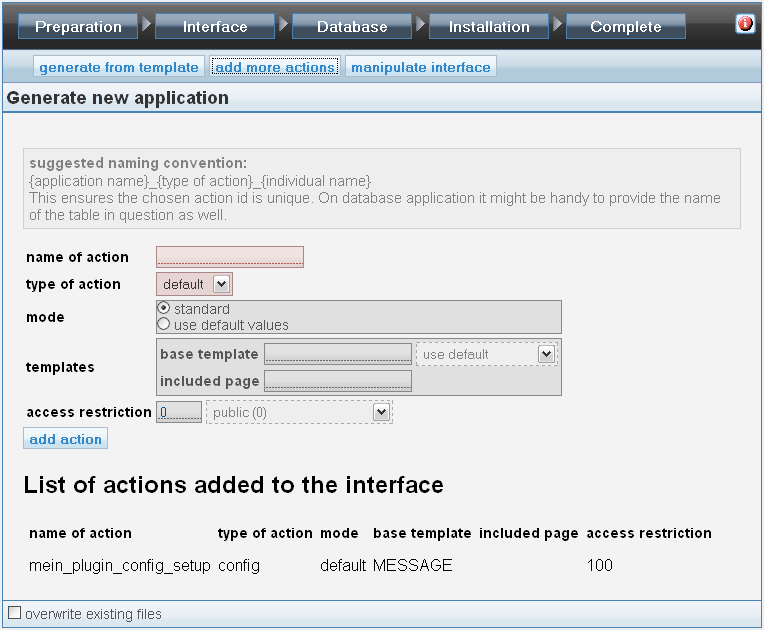
Interface
If you want to set up other actions, you can define their interface here. To do so you may use one of the templates, which the SDK suggests. A manual creation is also possible. The interfaces can also be manually changed.

For some actions their are standard templates, which can be used. Have a look at the select box. If an option is selected, a list of all generated actions is shown for comparison. You can review the entire interface by selecting the tab "edit interface manually".
An interface contains the following information:
- Name of action:
- Name of the function (any text). May only contain characters A-Z, 0-9 and "_". Look at the examples for comparison.
- Mode:
- usually "standard". Safe mode is meant to be used in case you want or need to ensure, only default values are used.
- Templates:
- ID of the templates to be used. This id is defined in the skin. Look at the skin files in the directory "skins/default/*.config", or use the menu for an example!
- Access restriction:
- selects the minimum privileges a user must have to be able to trigger this action.
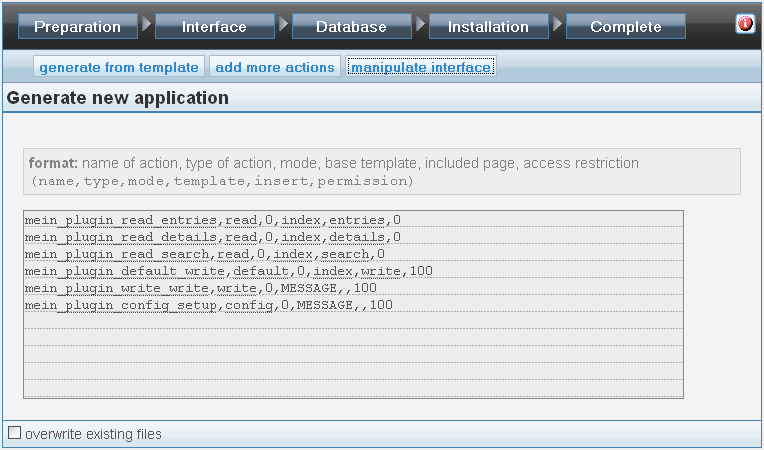
This option may be used to control the results, or as an alternative input interface for experienced users. You see all defined actions and can make changes.
Beware! Errors may cause, that the plug-in cannot be generated correctly.
Database
For database application a GUI can be generated automatically. To do so a structure file is required, which describes the database. From the information in this file, for each table the SDK creates matching template files, the appropriate actions and also generates the necessary additions to the interface of the application.
If you don't want to create such a database application, you may skip this step.
This will automatically create for each table: templates to view, edit, create and search database contents, plus the PHP-code for all required functions. In addition functions for downloading images and files from the database. Also a JavaScript file is created, which can be used to trigger actions on the server via Ajax. Last the structure file itself will be stored in the system.
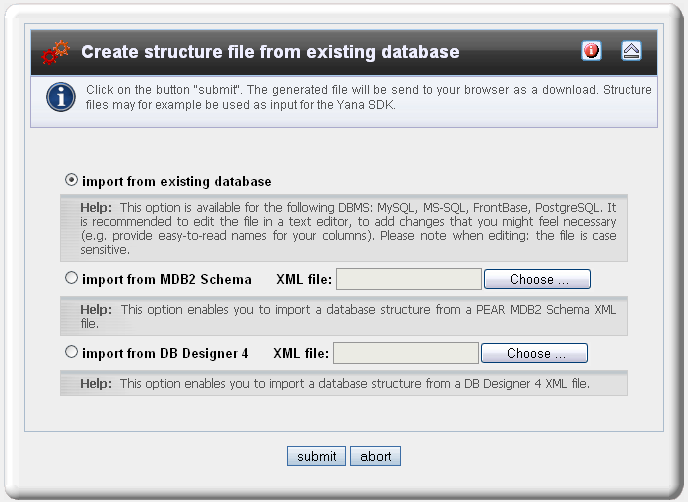
If you have not created a structure file yet, you may now create such a file. For this use the plug-in "DB-Tools". On the administration panel open the menu "DB-Tools" / "Import". Choose one of the options to import an already existing database. If you don't have any, please read the beginner's tutorial for a start. Also note the examples in the Developer's Cookbook.
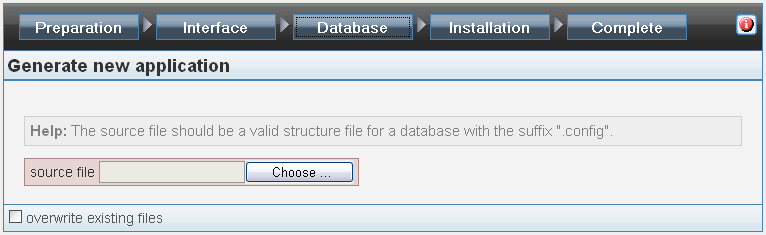
If you now got a structure file, input the path to this file here. Click on "search", if you are not sure where this file is stored.
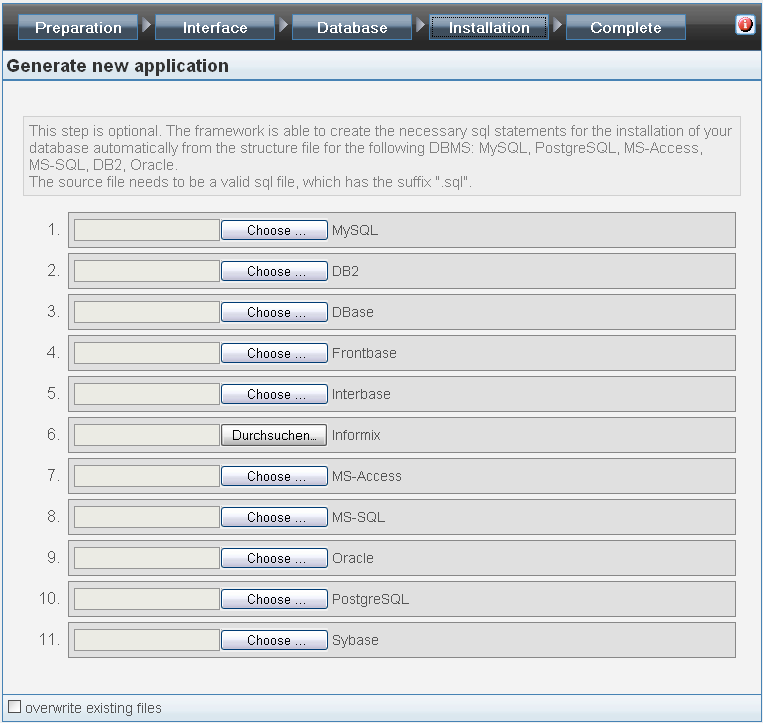
Installation (SQL)
This step is optional. The framework (since version 2.8.6) is able to generate the required SQL statements for the installation automatically when needed by using the file structure defined in step 3. This works for MySQL, MS-SQL, PostgreSQL, Oracle databases, IBM DB2 and MS Access. Handiwork is (except in exceptional cases) unnecessary.
If no automatic generation is possible for your desired DBMS, you should write a SQL installation file yourself.
Select the source file in SQL format, that contains the information to install the database.
You will find your SQL installation files in the folder "config/db/.install/" after finishing the process. This folder contains subdirectories for all supported DBMS. You may also copy your SQL-files to this location at a later stage. The file must have the same name as the structure file and use the extension ".sql".
Complete
To end the configuration, click "complete".
The SDK produces a skeleton of the application, all the necessary templates, as well as all the necessary configuration files. These include in particular: meta information, e.g. description of the plug-in's interface, meta information of required files, meta information of used templates.
The newly generated plug-in can be used immediately. You can find all files in the directories "plugins", "skins/default" under the ID code of the plug-in.
 Table of Contents
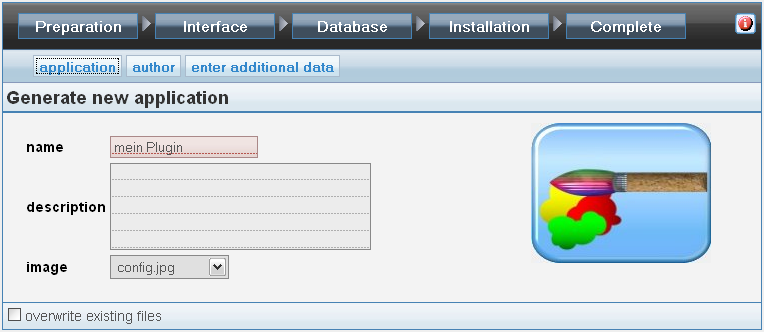
 Thomas Meyer, www.yanaframework.net
 Plug-in: RSS-to-HTML Factory